Prepping Skis (Part 1)
Dripping the wax
Way back when in the last century, after I started skiing, ski bottoms were wood. Then, Kofix, the first polymer bottom, came out in 1956 followed by P-Tex 2000 in 1966. Since then, every ski has a polyethylene bottoms. The lure, besides better gliding over the snow, was that with P-Tex, one didn’t have to ever wax your skis again.
So much for nostalgia. Besides helping the skis run better, wax also helps protect the bottoms of the skis from damage. Again, back in the last century’s good old days, I’d apply a coat of paraffin to the bottoms of a new pair of skis, scrape it off, buff it from tip to tail, and then repeat the process twice.
What this did and still does is fill in the pores in the polyethylene and make it slicker. Slicker means the ski goes faster, easier to skid and/or turn.
Before each ski trip, I’d prep our family’s skis, and each night after skiing, I’d apply a new coat of wax. In the late 80s, hotels and condos had a room where one could prep skis, but they seemed to have disappeared along with the typewriter.
Ironing the wax
Newer ski bottoms are better, but I still wax before each trip. If nothing else, it gets me excited about the coming ski trip. Here’s the process.
Step 1 – set up your work area. This will be messy, so I recommend covering the floor under the sawhorses with plastic used to protect walls and floors when you paint. This way, when you are done, you can pick up the plastic that contains the wax shavings and put it in the trash.
Step 2 – wipe down the skis with a damp (don’t use soap!) rag to clean any dirt or grit off the bottoms.
Step 3 – Drip the wax in a wavy line down the ski using an iron (mine is an old travel iron). It doesn’t matter if you start at the tip or the tail, and when you’re done with each ski, the trail of wax should be about 3/8 to ½ inch wide. For this base wax, you can use paraffin that, once upon a time, you could get in small slabs where the canning goods were at the supermarket, but it is getting harder and harder to find. I’ve switched to LFTurari Ski and Snowboard Wax. The link to get it on Amazon is here.
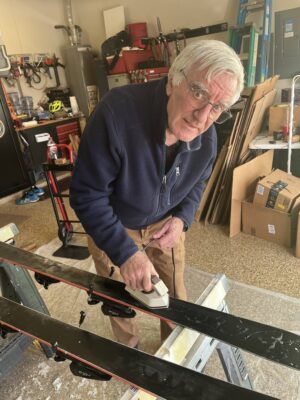
Step 4 – use the flat bottom of the iron to flatten the wax on the bottom
scraping
of the ski. Don’t worry if some drips over the edge. Be careful not to leave the iron on the bottom on any spot for more than a few seconds. By the time you finish the second ski, the wax on the first one has cooled sufficiently to scrape.
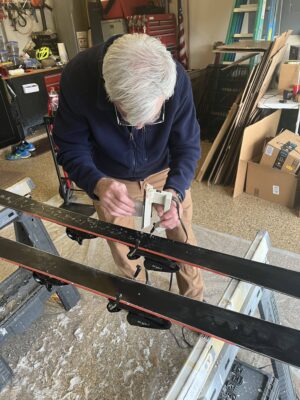
Step 5 – scrape the wax off from tip to tail by holding the scraper at a 30 – 45 ° angle to the bottom and scrape from tip to tail. My scraper is the blade from an old kitchen bench scraper which are easy to find. Just make sure that you deburr it before you use it.
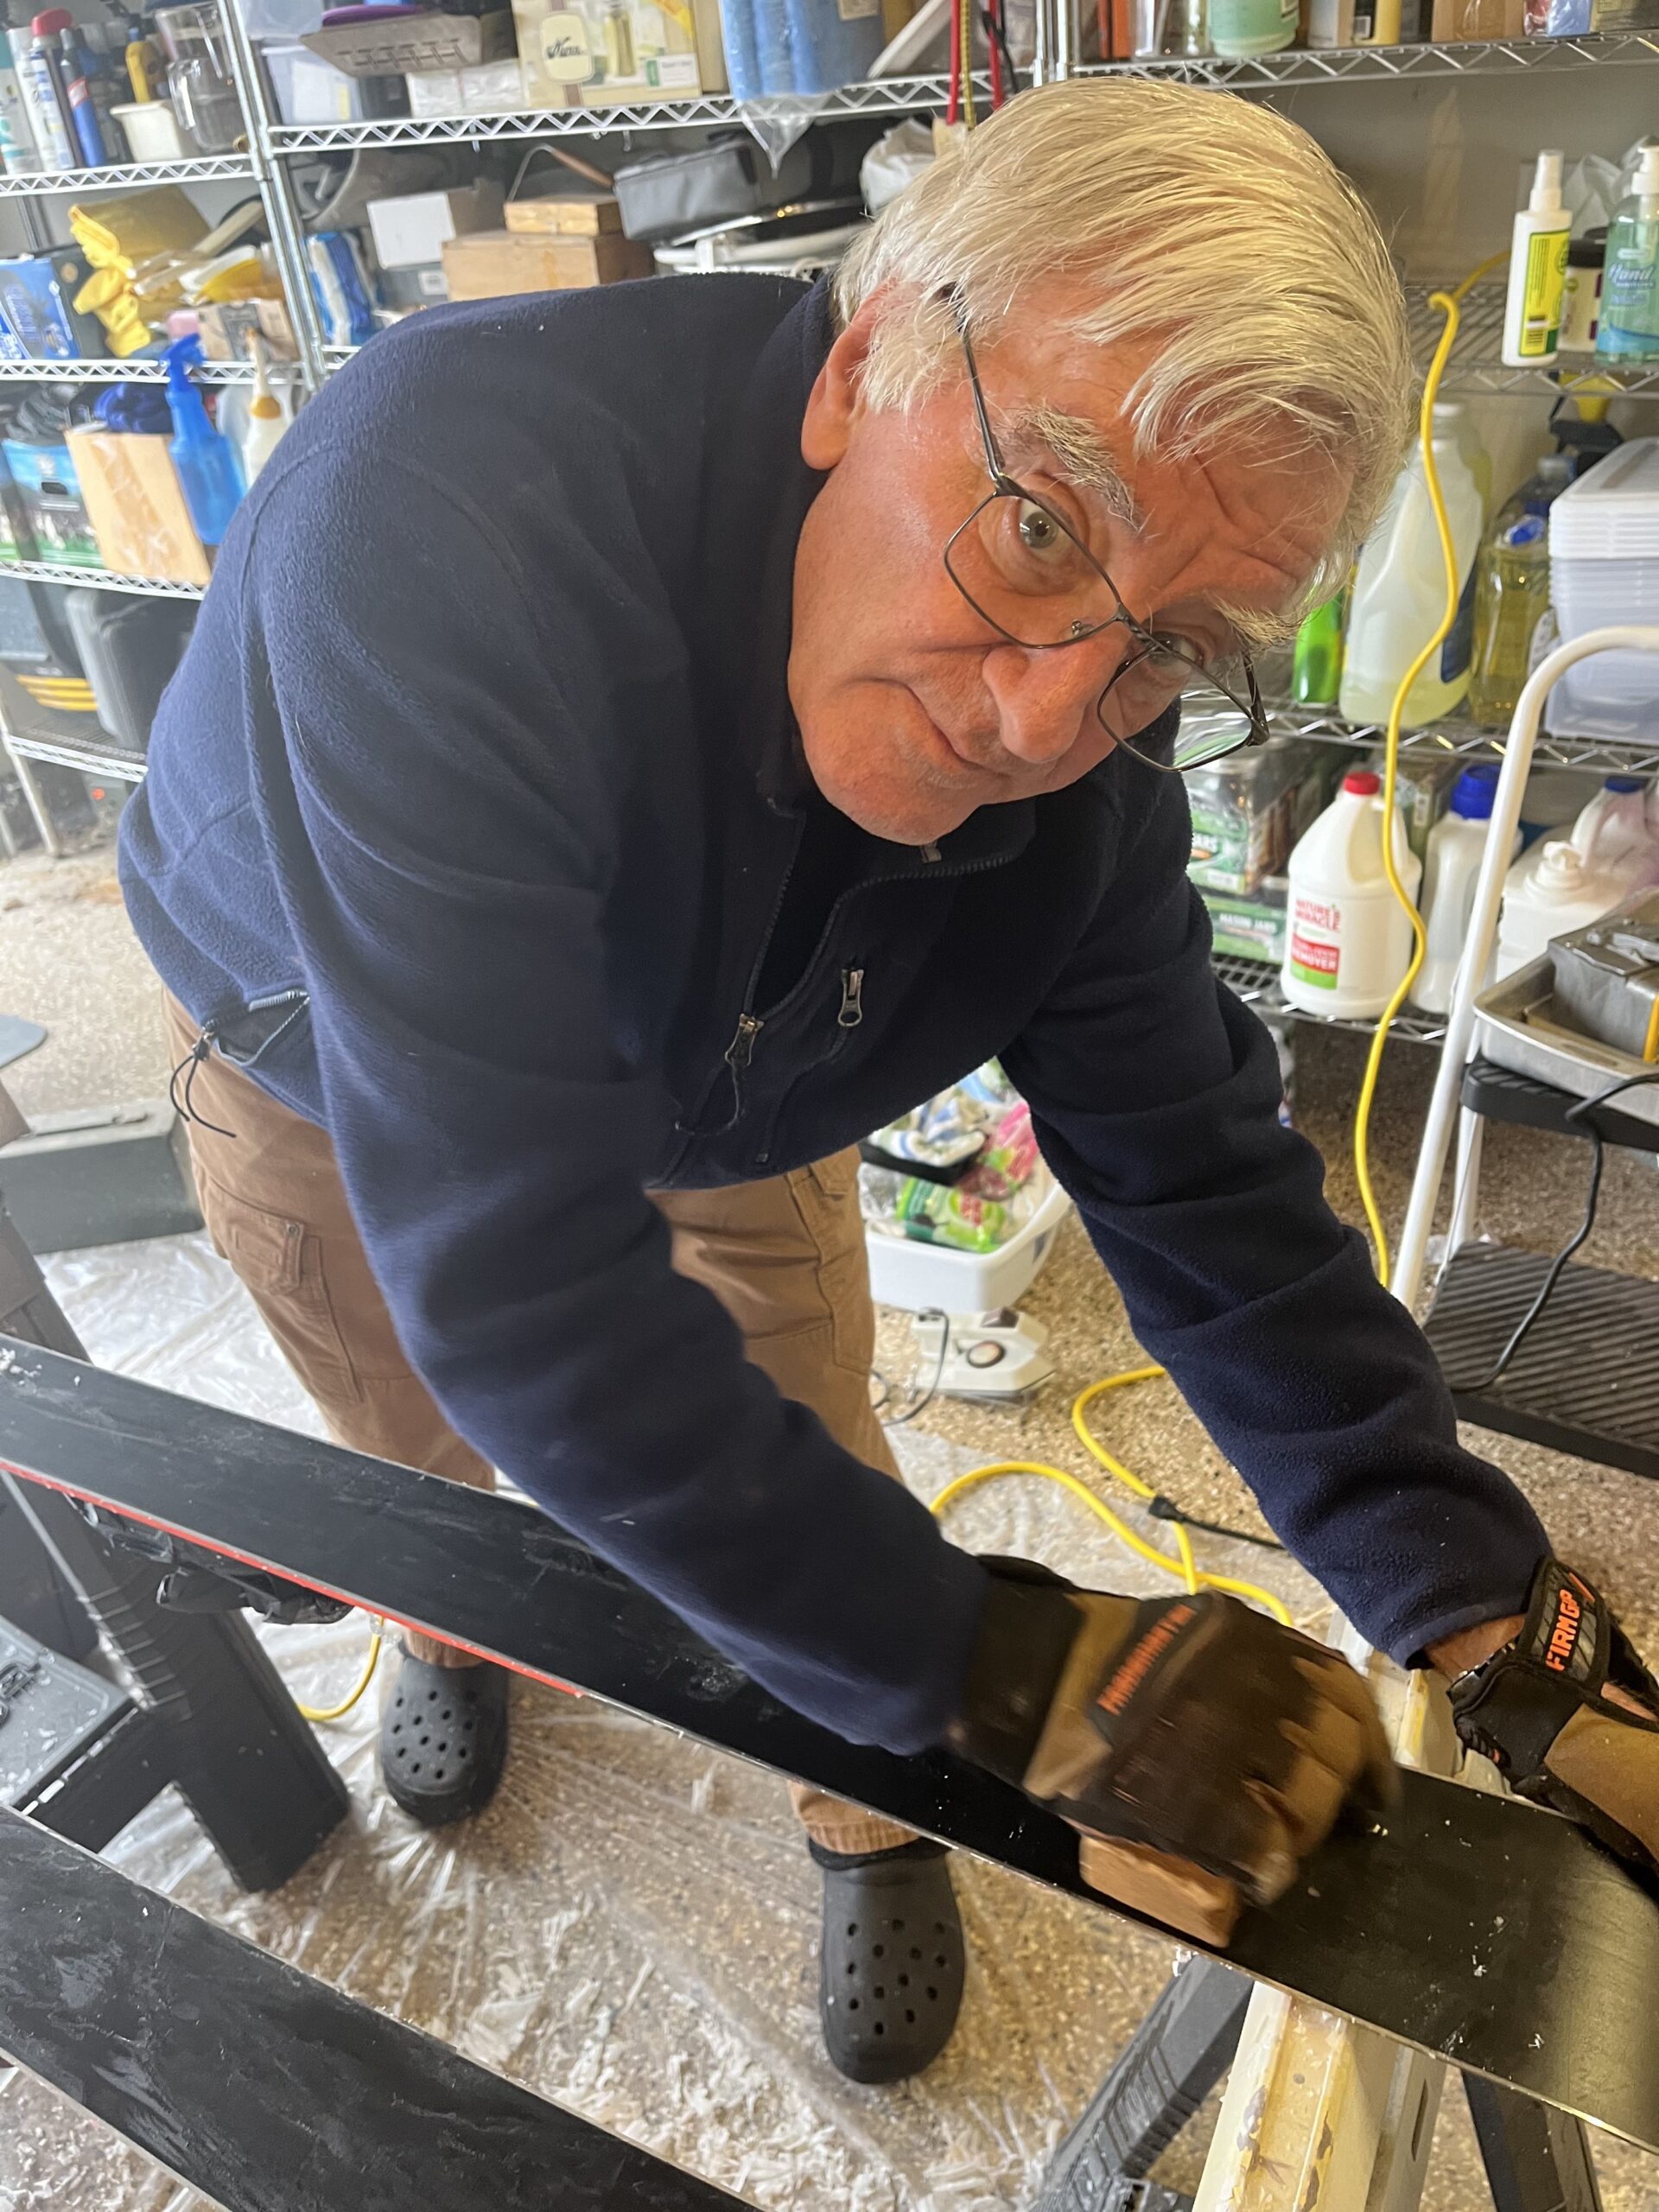
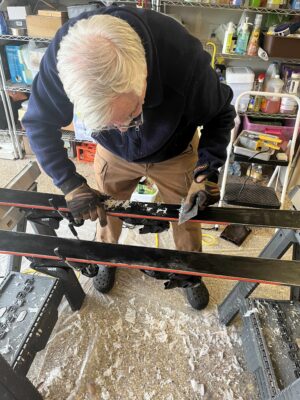
Step 6 – buff the wax, again moving the cork or plastic brick from tip to tail. I prefer cork. This step pushes it into the P-Tex and smooths it out.
Step 7 – run the scraper down the edges to remove any remaining wax. Then, pick up the plastic!
Warning, depending on the snow conditions, your skis may feel sluggish at first until the wax wears off. However, the more you do this, the more protected your bottoms are, and if you wax for specific conditions, the prepped bottoms should hold and retain the wax better.