
Prepping Skis (Part 1)
Dripping the wax
Way back when in the last century, after I started skiing, ski bottoms were wood. Then, Kofix, the first polymer bottom, came out in 1956 followed by P-Tex 2000 in 1966. Since then, every ski has a polyethylene bottoms. The lure, besides better gliding over the snow, was that with P-Tex, one didn’t have to ever wax your skis again.
So much for nostalgia. Besides helping the skis run better, wax also helps protect the bottoms of the skis from damage. Again, back in the last century’s good old days, I’d apply a coat of paraffin to the bottoms of a new pair of skis, scrape it off, buff it from tip to tail, and then repeat the process twice.
What this did and still does is fill in the pores in the polyethylene and make it slicker. Slicker means the ski goes faster, easier to skid and/or turn.
Before each ski trip, I’d prep our family’s skis, and each night after skiing, I’d apply a new coat of wax. In the late 80s, hotels and condos had a room where one could prep skis, but they seemed to have disappeared along with the typewriter.
Ironing the wax
Newer ski bottoms are better, but I still wax before each trip. If nothing else, it gets me excited about the coming ski trip. Here’s the process.
Step 1 – set up your work area. This will be messy, so I recommend covering the floor under the sawhorses with plastic used to protect walls and floors when you paint. This way, when you are done, you can pick up the plastic that contains the wax shavings and put it in the trash.
Step 2 – wipe down the skis with a damp (don’t use soap!) rag to clean any dirt or grit off the bottoms.
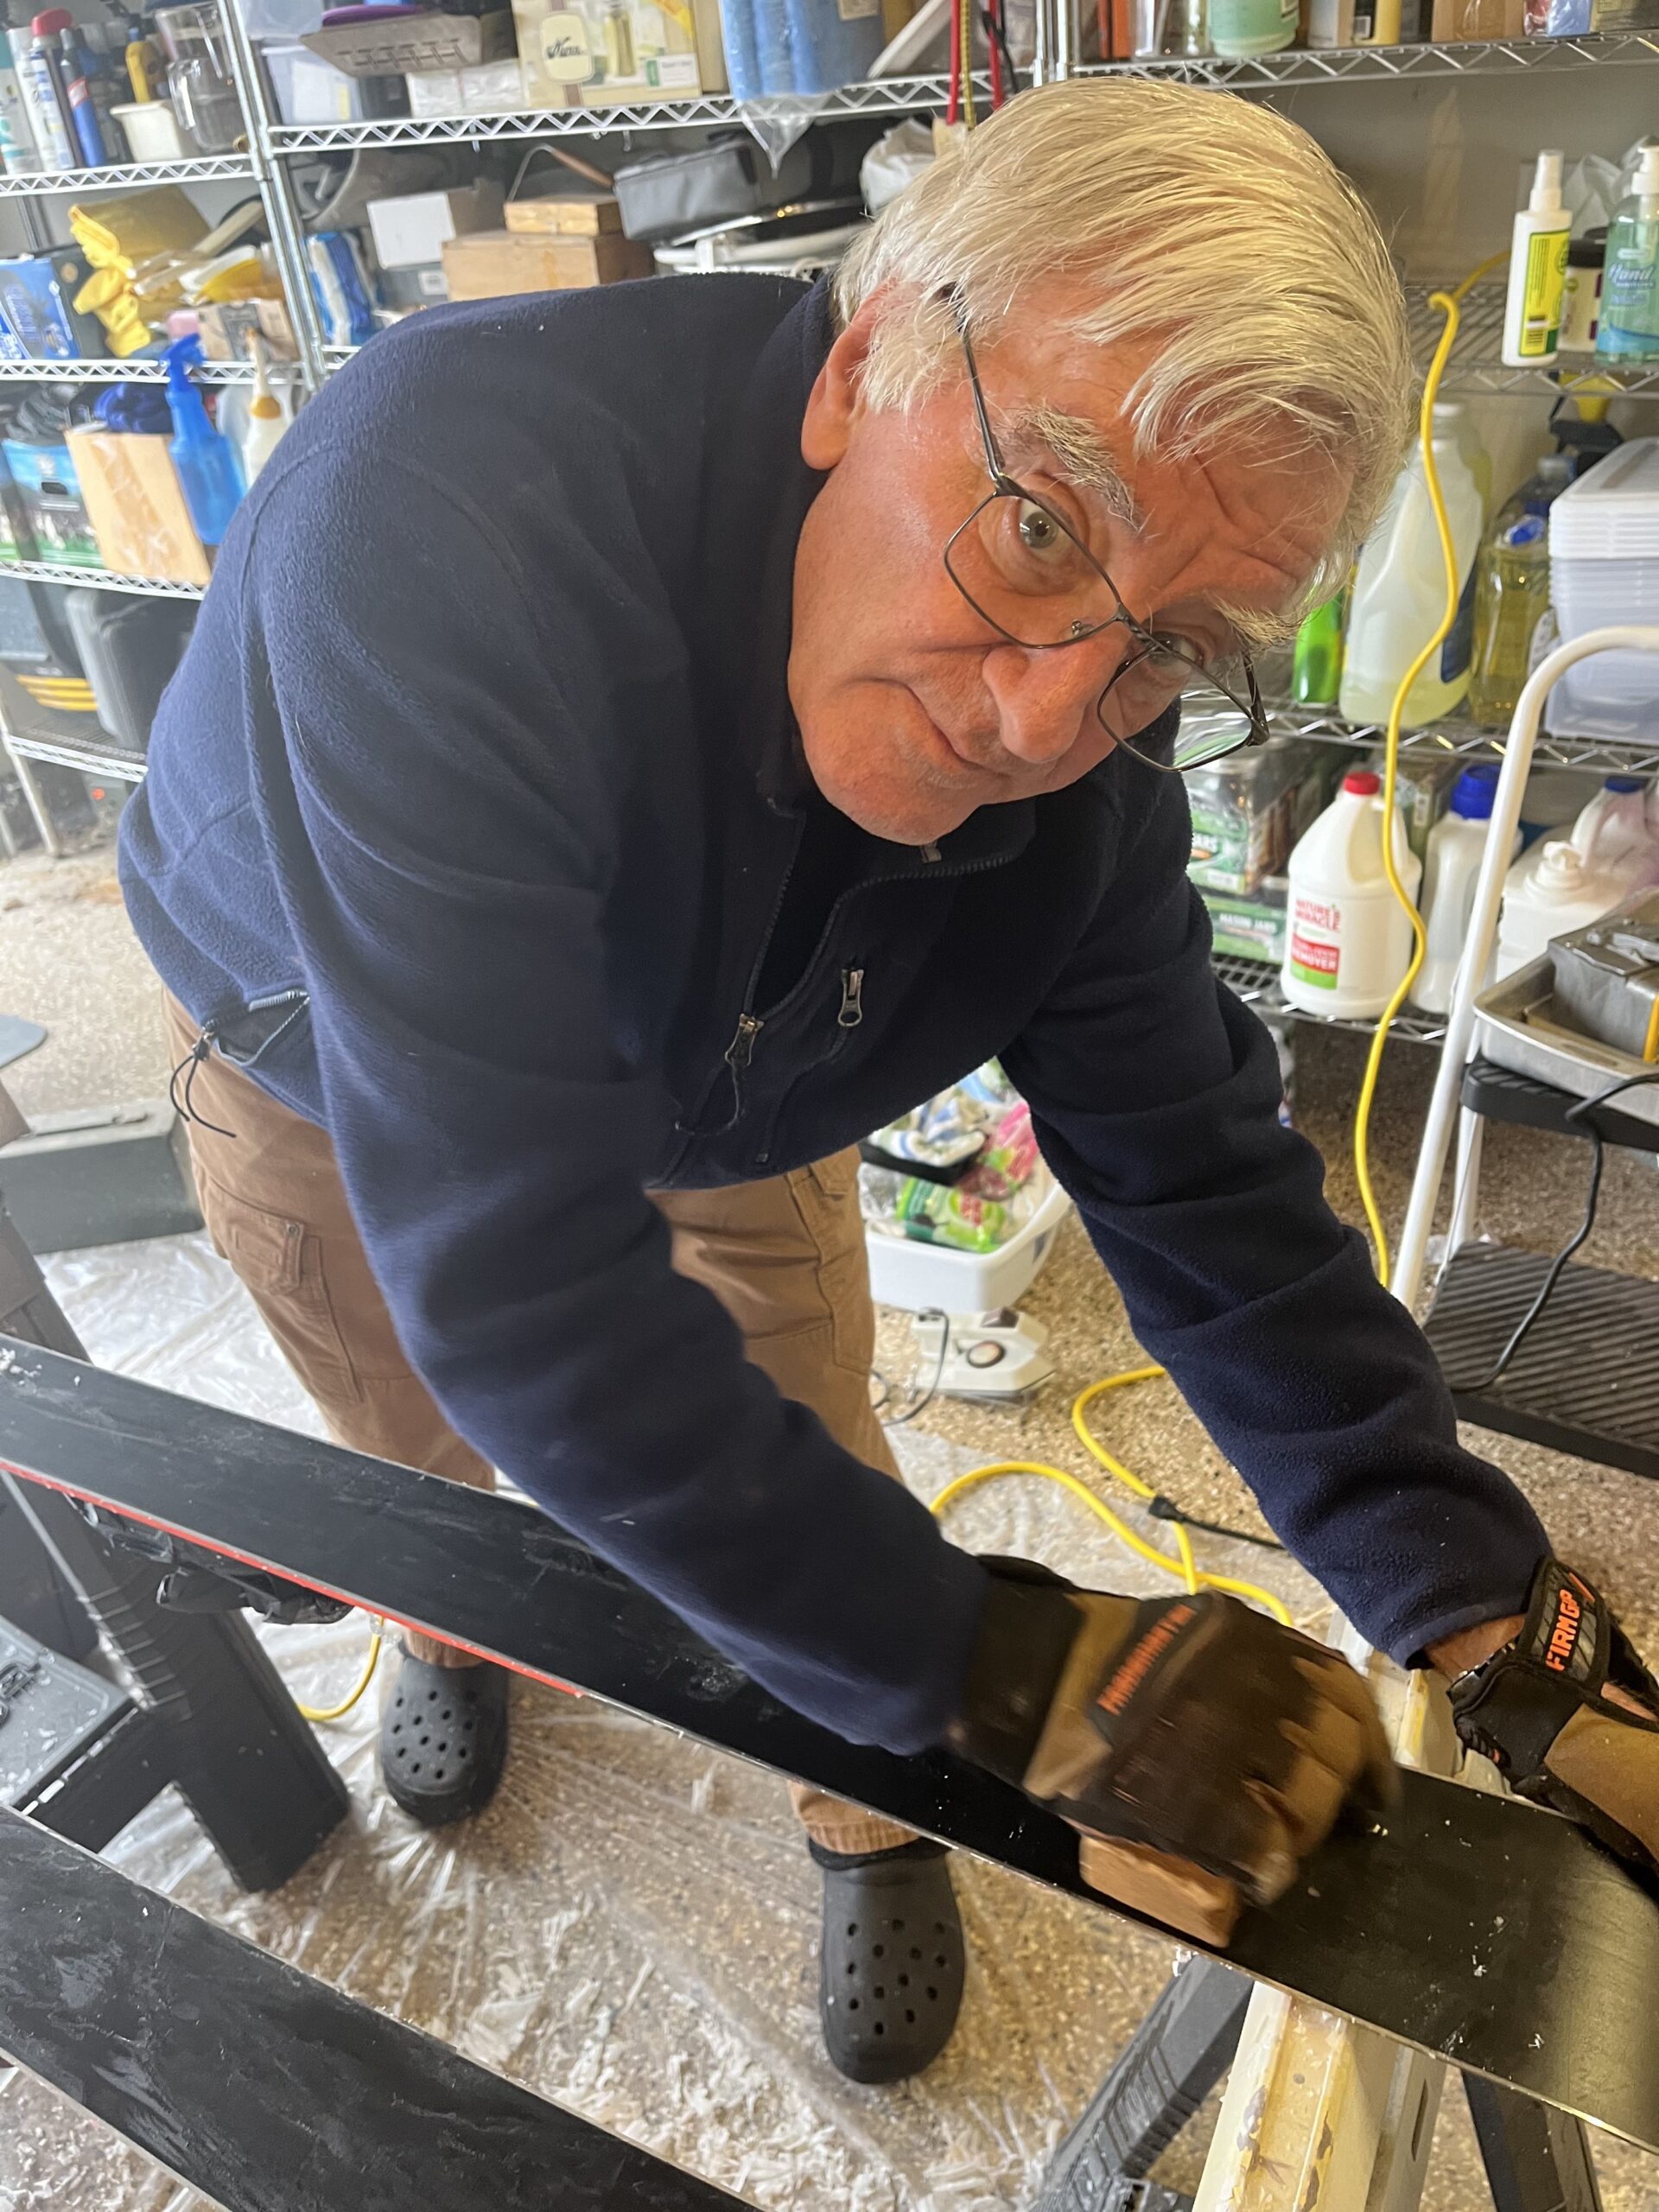
Step 3 – Drip the wax in a wavy line down the ski using an iron (mine is an old travel iron). It doesn’t matter if you start at the tip or the tail, and when you’re done with each ski, the trail of wax should be about 3/8 to ½ inch wide. For this base wax, you can use paraffin that, once upon a time, you could get in small slabs where the canning goods were at the supermarket, but it is getting harder and harder to find. I’ve switched to LFTurari Ski and Snowboard Wax. The link to get it on Amazon is here.
Step 4 – use the flat bottom of the iron to flatten the wax on the bottom
scraping
of the ski. Don’t worry if some drips over the edge. Be careful not to leave the iron on the bottom on any spot for more than a few seconds. By the time you finish the second ski, the wax on the first one has cooled sufficiently to scrape.
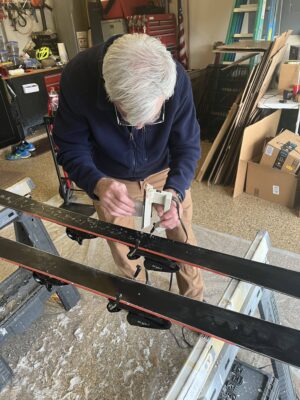
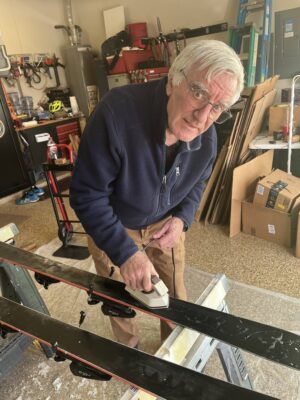
Step 5 – scrape the wax off from tip to tail by holding the scraper at a 30 – 45 ° angle to the bottom and scrape from tip to tail. My scraper is the blade from an old kitchen bench scraper which are easy to find. Just make sure that you deburr it before you use it.
Step 6 – buff the wax, again moving the cork or plastic brick from tip to tail. I prefer cork. This step pushes it into the P-Tex and smooths it out.
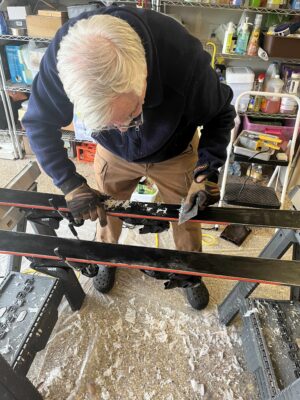
Step 7 – run the scraper down the edges to remove any remaining wax. Then, pick up the plastic!
Warning, depending on the snow conditions, your skis may feel sluggish at first until the wax wears off. However, the more you do this, the more protected your bottoms are, and if you wax for specific conditions, the prepped bottoms should hold and retain the wax better.
The Older We Get- The Better We Were

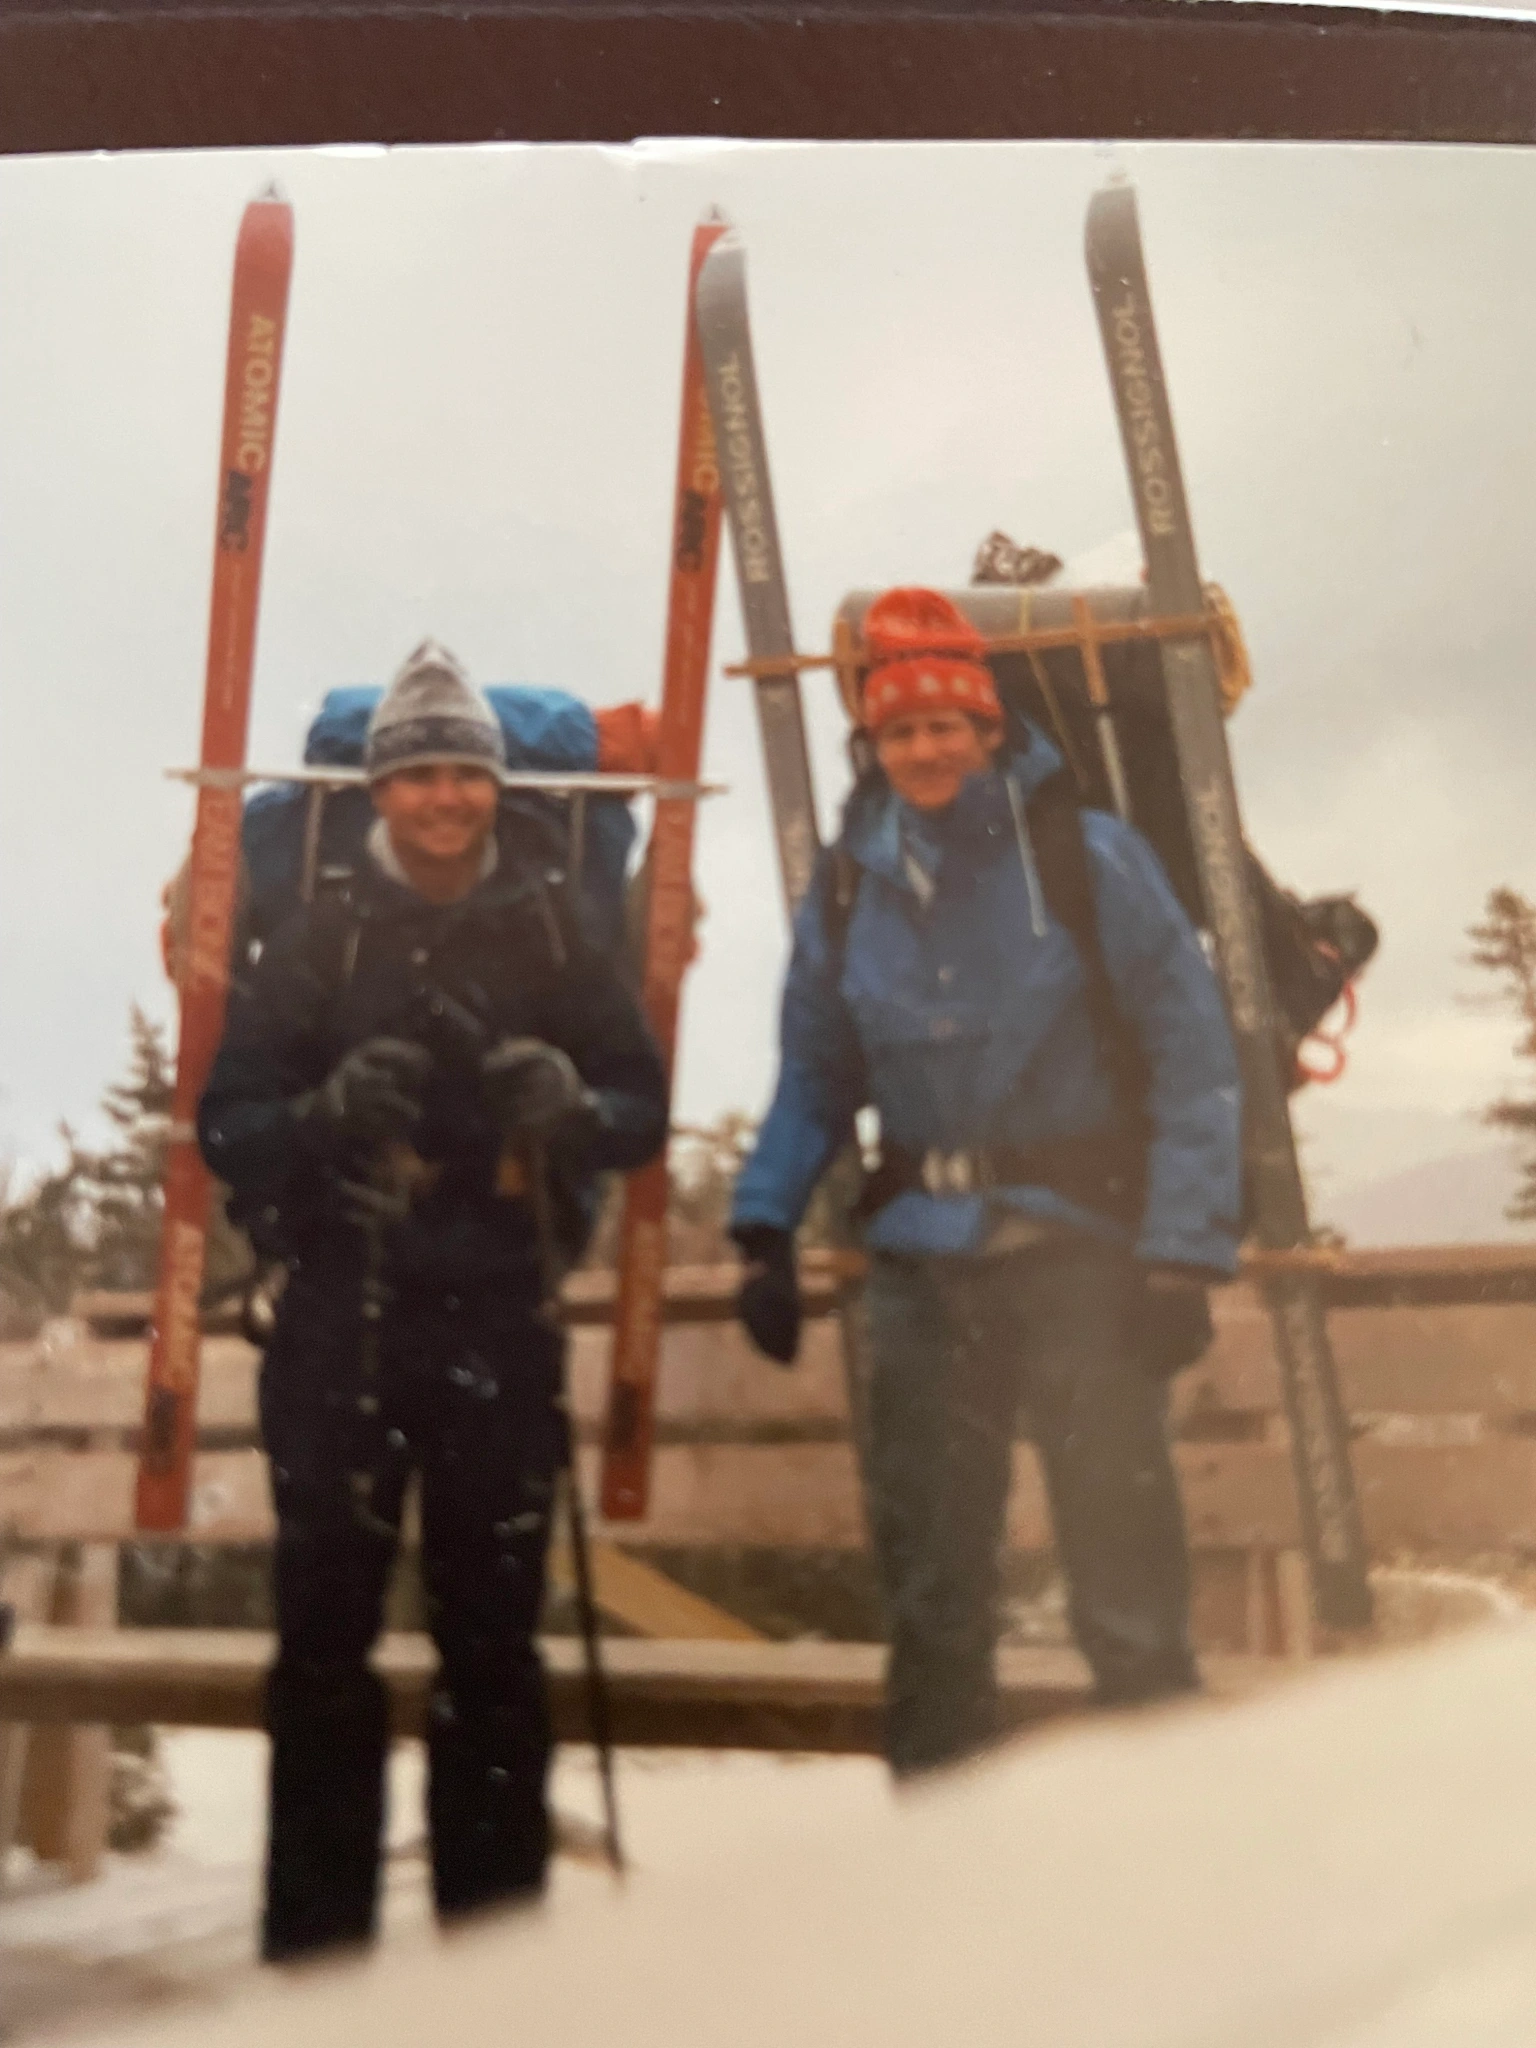
Howard Johnson’s at Tuckerman Ravine- 1984
So, I was surprised this week when my friend Eric, from Tahoe (formerly of Vermont), mailed me some pictures from way back when we skied Tuckerman Ravine together. Looking at these 40 year old photos, I thought back to a time when we laid down the only tracks one day in Dodge’s Drop ( and Eric had a cast on his wrist). We had some good times up there as we skied it many times together. But the thing that is amazing about this picture is the equipment we used. I mean, look at the skis. Probably 203 or 205 cm GS skis. Look how narrow compared to today’s equipment.
The other interesting thing about these pictures was the external frame packs we used. We added cross bars with latches and wing nuts to secure the skis to the frame. He was from Vermont and naturally used wood. I was from the steel city and with the help of my dad, we used aluminum cross bars. All in all, with the boots secured in the bindings, our clothing and food for the week, sleeping bag and mat, the pack weighed in at around 85 pounds which was a pretty good load to haul to the shelters where we stayed. One year, I thought I would save some time and make peanut butter and jelly sandwiches ahead of time. By the time the week ended, that package of sandwiches had been slept on, eaten from, and generally the once nice, neat stack of sandwiches had turned into a peanut butter dough ball. Lots of memories came flooding back to me as I opened the envelope this week from my friend.
In today’s world, people who climb and ski as we did, use internal frame packs. There are slots in the side of the packs that allow easy placement of the skis and the internal frames are much better suited to securing a lot of cargo. Lots of guys today use skins on their skis for climbing, and AT equipment to hike and ski to their destinations. Eric and I basically hauled our alpine equipment up to the shelter, and from there basically climbed up in our ski boots with our skis over our shoulders. Equipment surely changes and evolves over the years and skiing is no exception.

40 years later at Mammoth Mountain, California.
The other things that evolve over time are the stories that we tell about the old days. Sure, there are embellishments, the runs are bigger and badder than perhaps they were, and the stories that we tell each other evolve with the passage of time. But like my friend Paul Vey still says many years later, our trip down Corbet’s Couloir at Jackson Hole, was the highlight of his athletic career. He played Div 1 basketball at UVM and that is still saying something. Somehow the beers taste better when the stories start cranking up. Eric’s wife Helen usually disappears when she starts hearing the old stories. She has heard them way too many times. But when pictures like these start showing up again, they remind me of a time gone by and the good times that we had. I mean, we are still at it – 40 years later. Maybe not camping and hiking Tuckerman Ravine anymore, but still skiing in some pretty good places and having a pretty good time. And still skiing relatively well.
So, if you get a chance, go look in your old photo boxes and take some time to review your old times with great friends. They will remind you that friendships are important and like equipment and stories, they evolve over time. Having friends that you can still do things with after many years is a true blessing. Encourage each other to stay in shape, stay at it, and make the effort to get together whenever you can. And always remember- the older we get……………the better we were.

ICYMI for March 2024
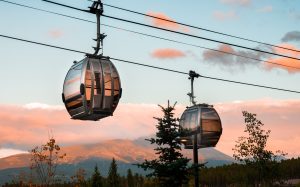
A sunset shot of two gondolas in Steamboat, CO Photo by Phoenix Dorninger on Unsplash
Days are getting longer and warmer, and spring skiing is the reward we downhillers get for braving frosty fingers and toes until now. Let’s hope the snow holds until April or May. Until then, enjoy these events and deals happening at the destinations we love. Here are bits and pieces from here and there for March for skiers and riders.
Sugarloaf
The largest ski area East of the Rockies just got even larger with the opening of West Mountain in mid-February.
“We are thrilled to announce the highly anticipated grand opening of West Mountain”, shares Karl Strand, President & General Manager. “The magnitude and pure impact of this type of terrain expansion can’t be understated. It’s the largest terrain expansion to happen in the Northeast since the late 1970’s.”
West Mountain expansion includes 12 new alpine trails, covering approximately 120 acres. The expansion will increase Sugarloaf’s total skiable acreage by nearly 10%, catering to both beginner and intermediate skiers and riders.
They are transported by the new Bucksaw Express, a high-speed detachable quad which will increase Sugarloaf’s uphill capacity by 2,400 skiers per hour. It transports skiers and riders up to Bullwinkle’s Restaurant, providing convenient access to the heart of the mountain and revolutionizing the way guests access and navigate the slopes.
“West Mountain creates a new family-friendly zone, something Sugarloaf has needed for quite some time”, shares Strand, “the accessibility of the lift and terrain provides a progression platform unlike anything we’ve ever had here. Our instructors and families will have a separate zone creating confidence and a “safe” zone, if you will, for beginner and intermediate level skiers.”
Extended Hours at Aspen
Starting March 1, all four resorts that make up Aspen/Snowmass are extending the hours of lift operations, to coincide with extended hours of sunlight.
Aspen Mountain: Silver Queen Gondola, Ajax Express and FIS Lifts will operate until 4pm The last ride down on Silver Queen Gondola is 4:30pm.
Highlands: Exhibition Lift will operate until: 4pm. Loge Peak will operate until 3:30pm.
Buttermilk: Summit Express will operate until 4pm.
Snowmass: Big Burn and Elk Camp Gondola will operate until 4pm. The Village Express Lift will operate until 4:00pm to the summit and until 4:15pm to the mid-point.
Steamboat
The popular pre-pandemic free daily mountain tour program for adults only with “yellow jacket” volunteer hosts has been changed into a ticketed tour for all ages, especially families.
Guides still take participants on greens and blues (no blacks), focusing on connecting the various peaks and lifts, along with historic tidbits.
Now called Full Steam Ahead Mountain Tour, it is being offered Monday-Thursday through early April, 10am to Noon. The formerly-free tour is now $20 for adults 13+, and free for a child aged 10-12 with a paid adult ticket (children younger than 10 are not permitted on the tour, and children 10-17 must be accompanied by a paying adult).
Advance registration is required, as is a lift ticket or pass. Steamboat is a member of the Ikon Pass system, and also offers resort-specific passes. Meet at 9:45am the base of the new Wild Blue Gondola, at which whisks riders to the top of the appropriately-named Sunshine Peak. https://www.steamboat.com/things-to-do/activity-details/mountain-tours
[authors_page role=contributor]